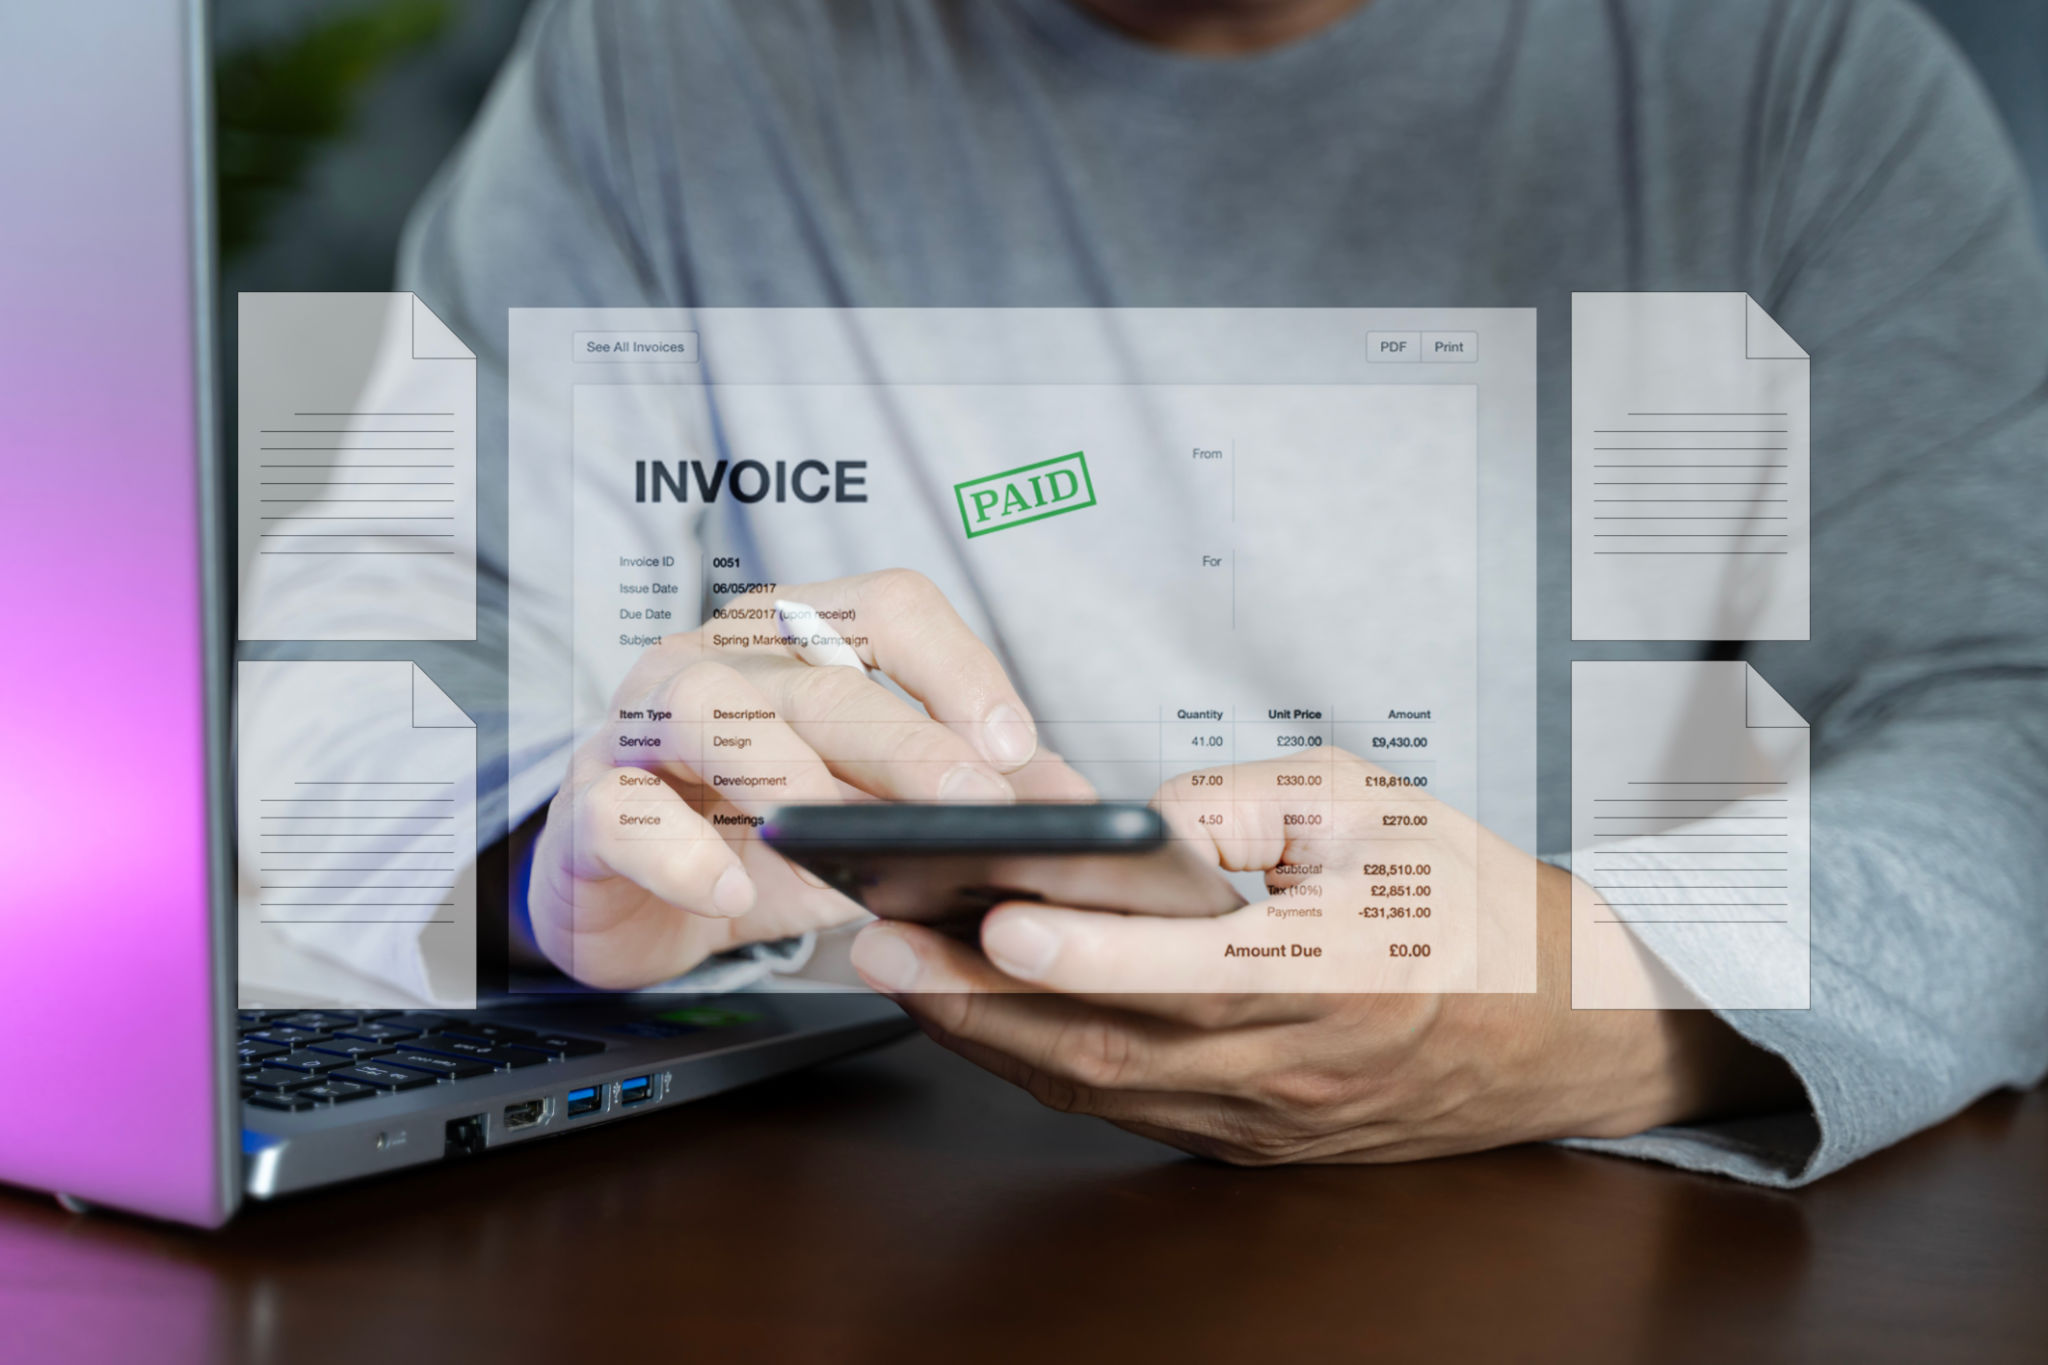
How to Set Up Recurring Invoices for the Year in QuickBooks Online
Managing recurring invoices is one of the most efficient ways to keep your business running smoothly. Whether you provide subscription services, retainers, or regular product deliveries, QuickBooks Online makes it easy to streamline your invoicing process. Let’s dive into how you can set up recurring invoices in QuickBooks Online and why it’s a game-changer for your business.
Why Recurring Invoices Matter

- Saves Time
Manually creating the same invoice every month can be a major time drain. By automating the process, you free up valuable time to focus on growing your business.
- Reduces Errors
Recurring invoices eliminate the risk of forgetting to bill clients or inputting incorrect amounts, ensuring consistent and accurate billing.
- Improves Cash Flow Management
Setting up recurring invoices helps you predict revenue more effectively, giving you a clearer picture of your business’s cash flow.
- Strengthens Client Relationships
Consistent, automated invoicing shows professionalism and reliability, leaving a positive impression on your clients.
- Ensures Compliance
Regular invoicing helps maintain accurate financial records, which is essential for tax reporting and compliance.
How to Set Up Recurring Invoices in QuickBooks Online

Follow these simple steps to create recurring invoices for your clients:
Step 1: Navigate to Recurring Transactions
- Log in to your QuickBooks Online account.
- Go to the Settings gear icon in the upper right corner.
- Under the "Lists" column, select Recurring Transactions.
Step 2: Create a New Template
- Click on the New button at the top right corner.
- Select Invoice as the transaction type and click OK.
Step 3: Choose a Template Type
QuickBooks will ask you to select a template type:
- Scheduled: Automatically creates and sends invoices at set intervals.
- Reminder: Sends a notification to you when it’s time to create an invoice.
- Unscheduled: Saves the details but doesn’t automate the sending process.
- For recurring invoices, choose Scheduled.
Step 4: Fill in the Invoice Details
- Customer: Select the customer who will receive the recurring invoice.
- Interval: Set the recurrence interval (e.g., weekly, monthly). You can also specify the start date and end date or make it ongoing.
- Product/Service: Add the items or services to be billed. Include the description, quantity, and rate.
- Payment Terms: Define the payment terms (e.g., Net 30, Net 15).
- Email Address: Ensure the client’s email is accurate for smooth delivery.
Step 5: Customize the Email Message
- Add a personalized subject line and body text.
- Use placeholders like [Customer Name] to make the email feel more personal.
Step 6: Save the Template
- Click Save Template, and you're done! QuickBooks will now handle invoicing for you according to the schedule you’ve set.
Action Steps to Get Started Today

- Audit Your Client List
Identify which of your clients require recurring invoices. Note the frequency, amounts, and any specific details needed for each.
- Set Up One Recurring Invoice
Practice the steps above by setting up a recurring invoice for one client. This will help you get comfortable with the process.
- Communicate with Clients
Inform your clients that you’re moving to an automated billing system. This helps set expectations and avoids confusion.
- Monitor Initial Invoices
Check the first few automated invoices to ensure everything is running smoothly. Look for errors in amounts, email delivery, or scheduling.
- Review Regularly
Periodically review your recurring invoices to ensure they reflect any changes in pricing, services, or client requirements.
Pro Tips for Using Recurring Invoices

1. Enable Online Payments
If you haven’t already, turn on QuickBooks’ online payment feature. This allows clients to pay invoices directly, speeding up your cash flow.
2. Include Late Payment Terms
Add clear late payment terms to encourage timely payments.
3. Sync with Your Calendar
Mark key dates, like the start or end of recurring billing cycles, to stay on top of client commitments.
4. Leverage Reports
Use QuickBooks reports to track recurring invoices and analyze trends in your revenue stream.
5. Secure Your Data
Make sure your QuickBooks account is protected with strong passwords and two-factor authentication to safeguard sensitive client information.
Why This Process is a Game-Changer

Recurring invoices are more than just a convenience—they’re a necessity for scaling your business efficiently. By automating this essential task, you can save time, reduce stress, and improve cash flow. Clients appreciate consistent, accurate billing, and you’ll enjoy the peace of mind that comes with knowing this critical part of your business is handled.
So, don’t wait! Start setting up your recurring invoices in QuickBooks Online today, and watch your business operations become smoother than ever.
Let us know if you have questions or need further assistance with QuickBooks Online. At Fiscal Sense, we’re here to help your business thrive!
